Documents Module
The Documents module allows for easy capture and management of clinically related documents such as health and dental history and clinical and consent forms and letters. Documents can be scanned directly, attached from a saved location or completed online, depending on the settings established for the document.
The practice may classify documents into categories for easy identification and retrieval. Document categories are established by the QSIDental Web Administrator.
Complete an Electronic Form
HTML forms can be completed electronically by the patient and signed using an electronic signature pad. Once finalized, a PDF version is retained in the electronic record.
To add an electronic document to the patient's chart:
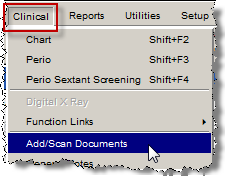
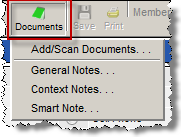
- Launch the Documents module.
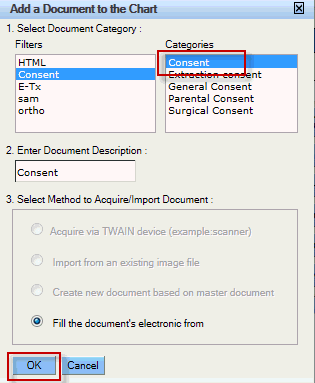
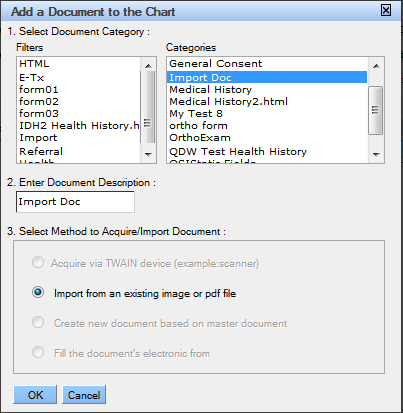
- Complete the information in the Add a Document to the Chart window as desired.
- Choose a document from the list of categories.
- Enter or enhance the document's description.
-
Click OK
- Have the patient complete the fields for the online form and sign with an electronic signature pad.
- Click Save.
-
If all signatures for the form have not been obtained, an option box will open
automatically.
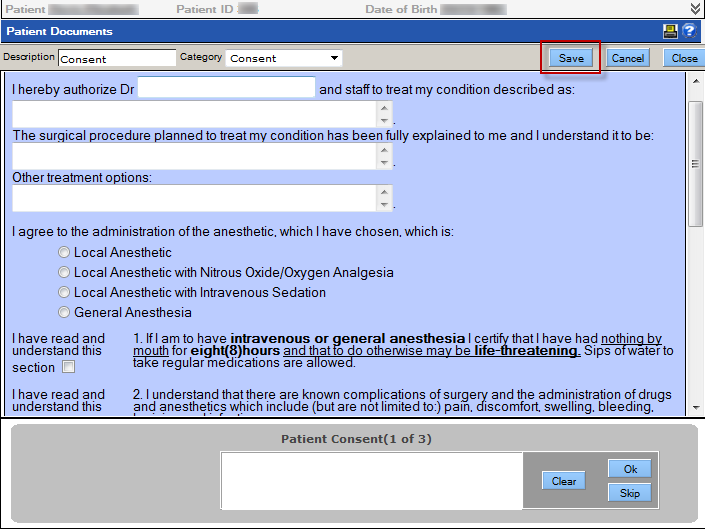

- Click Save to save the form in its current version until all the signatures may be obtained.
- Click Cancel to return to the form.
- Click Finalize to save a PDF version of the form without all the signatures. Please note that the form cannot be reopened and edited.
Import a Document
Documents that have been saved can also be added into the patient's record.
To import a document:
- Launch the Documents module.
- Complete the Add a Document to the Chart window as desired.
- Choose a document from the Categories list.
- Enter or enhance the document's description.
- Select Import from an existing image or pdf file.
-
Click OK
-
Click Browse to locate and import the document.
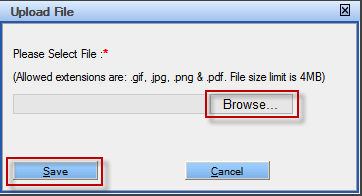
- Click Save.
Scan a Clinical Document
When a document needs to be scanned into the record, a specialized scanning and viewing interface will open automatically when you select the document.
To scan the document directly into the file:
- Launch the Documents module.
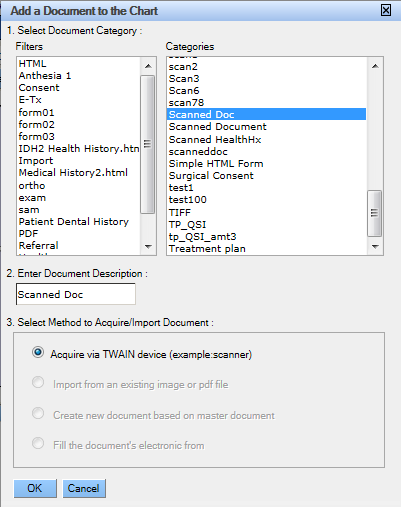
- Complete the Add a Document to the Chart window as desired.
- Choose a document from the Categories list.
- Enter or enhance the document's description.
- Select Acquire via TWAIN device (example scanner).
-
Click OK.
-
Use the specialized scanning interface to scan the document.

- Click Save.
Scan and View Interface
When a document is scanned into the record or a previously saved file is opened, the QSIDental Web Scan and View interface will open automatically. Use the tool to adjust the scanning settings or to adjust the view.
|
Save |
Save the scanned document. |
|
Cancel |
Cancel the scan. |
|
Close |
Close the scan interface. |
|
Source |
Select the scanner. |
|
Mode |
Select the desired scan quality. |
|
Document Size |
Select the document size. |
|
Check boxes |
ADF - Select to enable the automatic document feeder. Duplex - Select to enable Duplex. Skip Blanks - Select to automatically skip blank pages. Use TWAIN UI - Select to use the scanner's interface. |
|
Rotate |
Rotate the image. |
|
Crop |
Crop the image. |
|
Rotate Vertically |
Rotate the image vertically. |
|
Rotate Horizontally |
Rotate the image horizontally. |
|
Zoom |
Zoom the image in or out or fit to the screen. |
|
|
Print the image. |
|
Scan |
Scan or reacquire the image. |
|
Pages |
Number of pages scanned. |
View a Document
Once a document has been added, it becomes a line item in the Chart Details section of the Tooth Chart.
-
To view a document, double-click the line item in the Chart
Details section of the Tooth Chart.
 Note: How the document opens depends on how it was added to the file.
 -
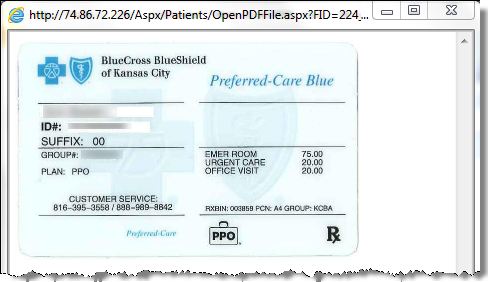
Electronic forms that were finalized will open in a PDF viewer.

-
Scanned or imported documents will open using the scanning and viewing interface.