Schedule the Batch Claims Task
The claims are created and transmitted automatically based on each account’s insurance plan and practice settings. The Batch Claims task in the Task Scheduler replaces the manual process of creating the batch claims from the Utilities menu.
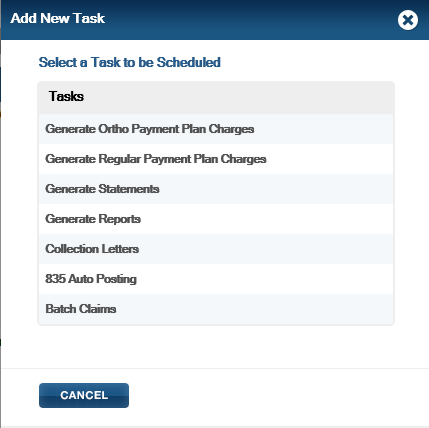
- Click the Add New Task button.
-
Select Batch Claims from the Add New Task
window.

-
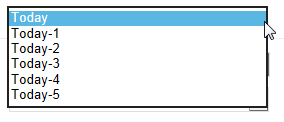
Select the Date of Service to be used as an end date. Un-generated claims from dates of
service PRIOR to this date will be generated in the task process.
-
Choose from the Batch Claim Action drop-down to create claims
only, transmit claims only or both
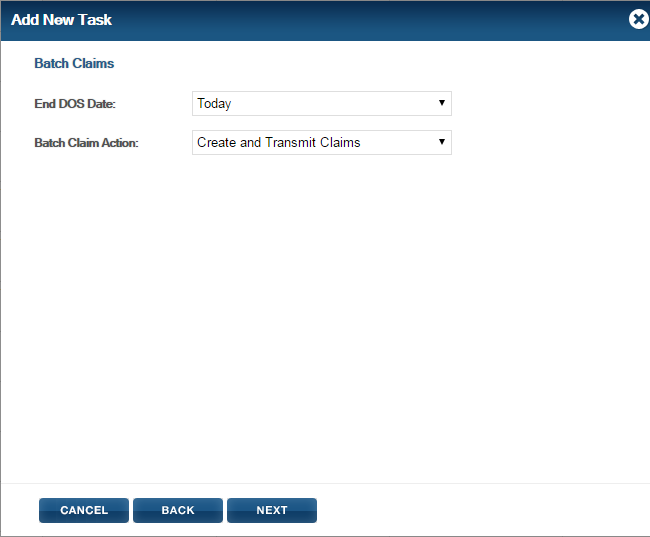
- Click Next.
-
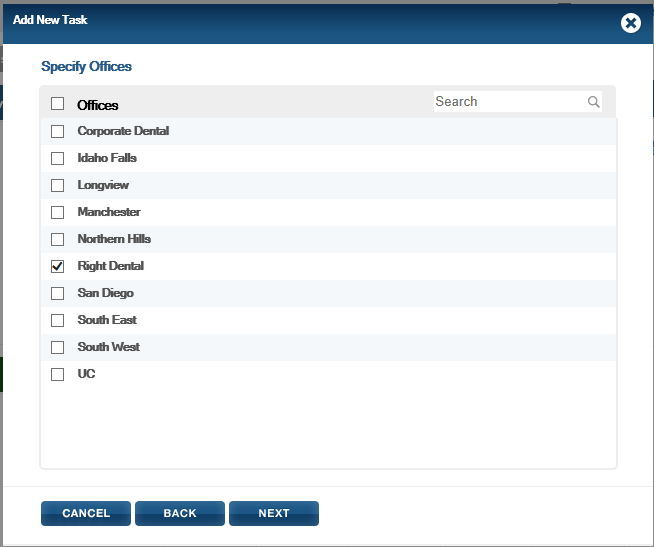
Select the office(s) whose claims should be generated.
-
Click the Next button.

-
Type a name for the task. This name appears in the task panels and within the scheduler
view.

-
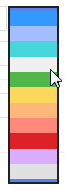
Select a color for the task from the dropdown.
Note: This color will be displayed for the task within the scheduler view. Many practices will set guidelines for color-coding tasks.
-
Set the interval for the task to be performed.
Note: The selection made here will trigger the frequency options at the bottom of the window.

Only One Time: The task will be performed once on the date and time indicated.
Daily: The task will be performed each day as setup in the frequency settings.
Weekly: The task will be performed each day as indicated in the frequency settings.
Monthly: The task will be performed once each month as indicated in the frequency settings. Set the date that
-
QSIDental Web should begin performing the task by typing the date or selecting it from
the calendar.The begin date does not need to correspond to the frequency cycle.

-
Set the date that QSIDental Web should discontinue performing the task by typing the
date or selecting it from the calendar.
Note: This option appears only when a frequency interval is selected.

-
Set the time that the task should begin by typing the time directly or selecting from
the clock dropdown.

-
Set the frequency options for Daily, Weekly, or Monthly performance of the task
(triggered based on the selection made for interval and dependent on that selected
interval).
Daily: The task may be performed every day or on alternate days as specified.

To perform the task every single day, select the radio button beside Every Day
To perform the task on a regular daily interval, select the radio button beside Every X days and choose the specific interval from the dropdown.
For example: To run the collection letters every other day, click the radio button beside Every X days and select 2 from the dropdown.
Weekly: The task may be performed one or more times per week on certain days as specified.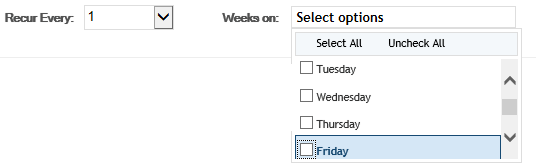
Select the number of weeks between the performance of the tasks.Selecting “1” will set the task to be performed each week.Selecting “3” will set the task to be performed every third week.
Select the day(s) of the week the task should be performed during the scheduled weeks by placing a check mark beside the desired day(s) of the week.
For example: To run the collection letters on alternate Wednesdays, select 2 in the Recur Every field and select Wednesday from the Weeks on field.
Monthly: The task may performed on a specific date or day as specified.
To perform the task on a specific day of the month, select the radio button beside Day and select the specific date.To manage different month lengths, “Last day of the month” may be selected.
To perform the task on a specific day of the week, select the radio button beside The X weekday and set the specific cycle within the month such as 2nd Friday.
Select the month(s) the task should be performed during the year by placing a check mark beside the desired month(s).
For example: To run the collection letters on the 15th of the month ending the quarter, select the radio button beside Day and select 15. Place check marks in the months of March, June, September, and December.
- If desired, place a check mark beside Send Task Completion Notification via Email to activate the confirmation email options. This notification is in addition to the task completion notice and report delivered via the QSIDental Web Tickler tool. The notification is only of the successful or unsuccessful completion of the task and does not contain any data.
- Click the Next button.
-
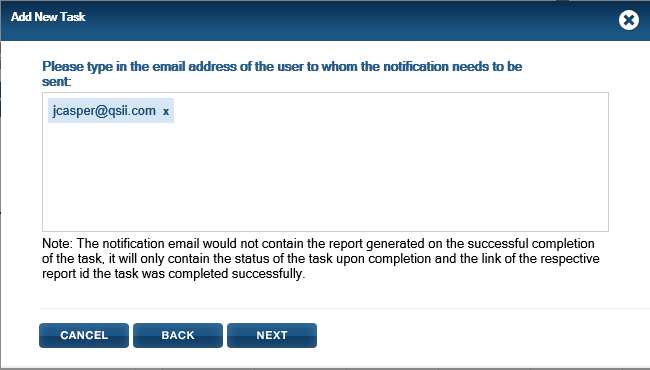
If Completion Notification was selected, identify the
individual(s) that should receive notification that the task as been completed by typing
the email address(es). Once the email address is entered, it will be saved for easy future
use. Click the Next button again.
Note: This screen will not appear if notification is not requested on the previous screen.
- Review the details and click the Finish button.