You can view the patient appointments scheduled for the day.
Today’s Timeline window displays patient appointments scheduled for
the day and the corresponding information about a selected appointment. To access this
window, click Utilities > Today’s Timeline. Note that you must click to refresh the window to view the updated list. Clicking
opens the
Select Patient / Resp Party window from where you can enter the
details to search for the desired patient.
displays the aggregate amount of the appointments and treatments scheduled for the day.
Clicking logs you out of QSIDental Web. Clicking navigates you to a toolbar item on the list. This list is
configurable to toolbar items that open in a window of its own.
Note: You can set
Today’s Timeline as the landing page from the
Login Settings window. For more information, see User Per-Office Settings.
Today's Timeline window displays the following sections:
Schedule Timeline lists patient appointments for the
selected office on a particular date. By default, selects the current date.
Clicking opens the Scheduler
window. Clicking opens a window from where you can perform a
list of actions for the selected appointment. Hovering over opens
a window that displays the appointment details of members from the same
family for the selected
date.
Hovering over the icon indicates if insurance eligibility needs
verification or the insurance plan is expired.
Patient Summary displays information about a patient.
Clicking Add Picture directs you to the
Add/Edit Image window, from where you can add a
picture. If Form Tracking is in use and a consent form is not signed, then an
exclamation mark appears next to the Patient Summary
title (). Click the exclamation mark to open the Patient Consent
Letter(s) window listing the unsigned consent letters.Depending on the letter type, you can send unsigned consent letters to the
patient or responsible party by selecting the consent letters and clicking
EMAIL. Clicking and
direct you to the Patient
Overview and Tooth Chart windows
respectively for the selected patient.
Clicking in the
Cell # row of Patient Summary
opens the Send Text Message window from where you can send
text messages to the patient.
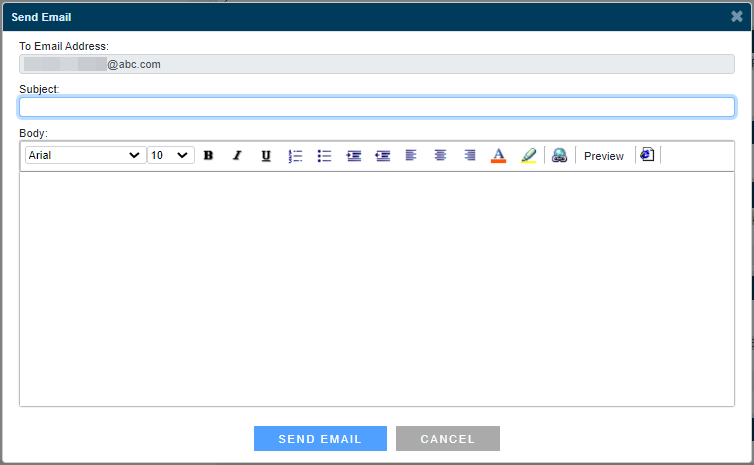
Clicking the patient’s email address in Patient Summary
opens the Send Email window from where you can send emails
to the patient.
Appointment Notes displays any notes about the
appointment.
Clicking opens the Appointment Intake
Form for editing and viewing purposes.
Treatment Scheduled displays the treatments scheduled for
the patient for that day.
Medical Alerts displays any alerts about the
patient.
Recall displays recall appointment dates about a
procedure.
Balance Information displays information pertaining to
the patient’s balance. Clicking directs you to the Account
Ledger window.
Appointment History displays appointment history
information.
Doctor`s displays hygiene appointments scheduled for the
day.
New Patients Web Registrations displays appointments of
new patients who have registered online and scheduled for the day. Clicking
opens
the Add Patient window, automatically populates with the
values the patient entered in the online registration form.
Lab Case displays information about lab cases attached to
appointments for the day.
 to refresh the window to view the updated list. Clicking
 opens the
Select Patient / Resp Party window from where you can enter the
details to search for the desired patient.
opens the
Select Patient / Resp Party window from where you can enter the
details to search for the desired patient.  displays the aggregate amount of the appointments and treatments scheduled for the day.
Clicking
displays the aggregate amount of the appointments and treatments scheduled for the day.
Clicking  logs you out of QSIDental Web. Clicking
  navigates you to a toolbar item on the list. This list is
configurable to toolbar items that open in a window of its own.
navigates you to a toolbar item on the list. This list is
configurable to toolbar items that open in a window of its own.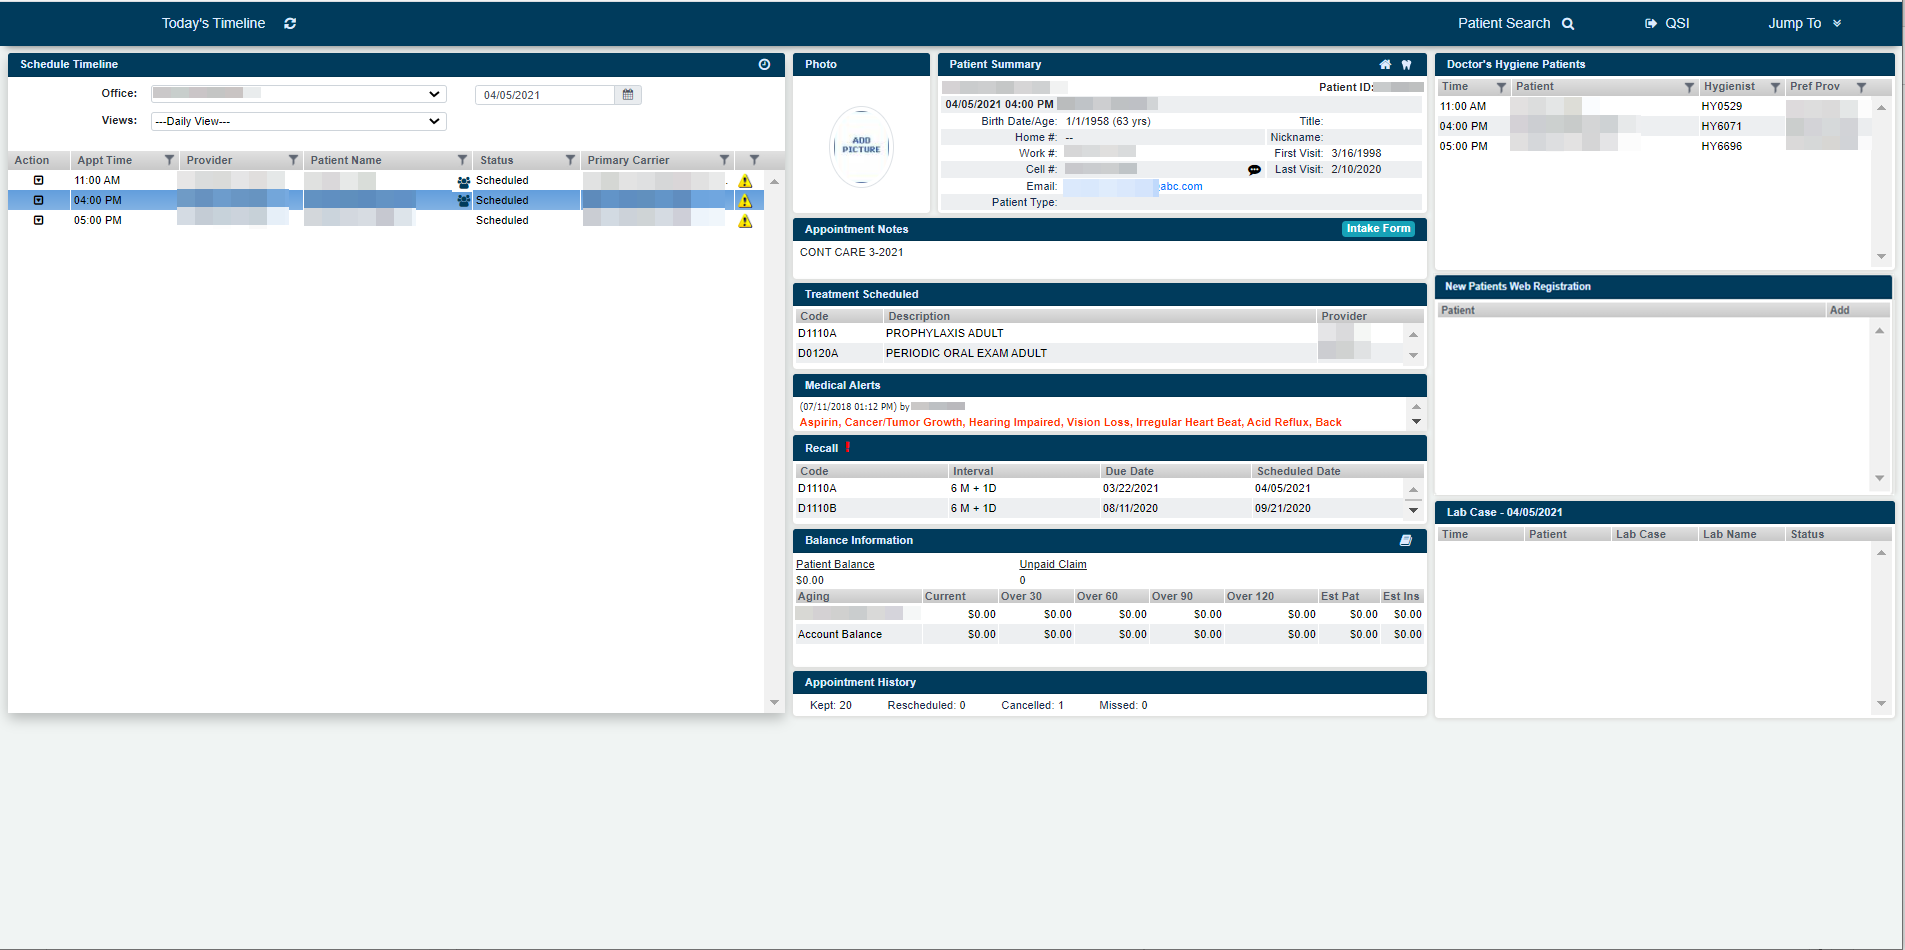
 opens the Scheduler
window. Clicking
opens the Scheduler
window. Clicking  opens a window from where you can perform a
list of actions for the selected appointment. Hovering over
opens a window from where you can perform a
list of actions for the selected appointment. Hovering over  opens
a window that displays the appointment details of members from the same
family for the selected
date.
Hovering over the
opens
a window that displays the appointment details of members from the same
family for the selected
date.
Hovering over the  icon indicates if insurance eligibility needs
verification or the insurance plan is expired.
icon indicates if insurance eligibility needs
verification or the insurance plan is expired.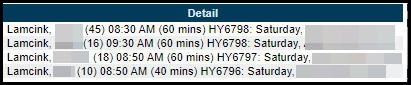
 ). Click the exclamation mark to open the Patient Consent
Letter(s) window listing the unsigned consent letters.
). Click the exclamation mark to open the Patient Consent
Letter(s) window listing the unsigned consent letters.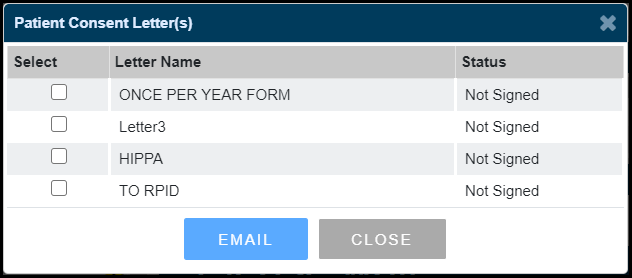
 and
and
 direct you to the Patient
Overview and Tooth Chart windows
respectively for the selected patient.
direct you to the Patient
Overview and Tooth Chart windows
respectively for the selected patient. in the
Cell # row of Patient Summary
opens the Send Text Message window from where you can send
text messages to the patient.
in the
Cell # row of Patient Summary
opens the Send Text Message window from where you can send
text messages to the patient.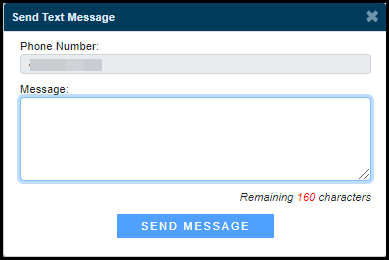
 opens the Appointment Intake
Form for editing and viewing purposes.
opens the Appointment Intake
Form for editing and viewing purposes. directs you to the Account
Ledger window.
directs you to the Account
Ledger window. opens
the Add Patient window, automatically populates with the
values the patient entered in the online registration form.
opens
the Add Patient window, automatically populates with the
values the patient entered in the online registration form.