Meaningful Use Module
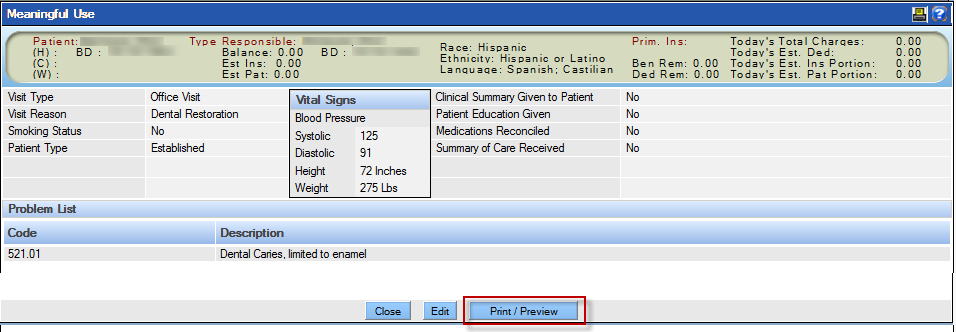
When the practice subscribes to the Meaningful Use function in QSIDental Web, an additional module is available for tracking data for the Stage 1 and Stage 2 measurements for the encounter. Access the Meaningful Use module by clicking the Meaningful Use icon.
If no encounter has been opened for the patient that day, the module will be blank, If the module has already been accessed and saved for the patient that day, the module will open with any data already populated.
![]()
This screen may also be accessed from a previous encounter by clicking a specific date in the Meaningful Use List screen or create a new encounter by clicking the Add New button.
Enter Data in the Meaningful Use Module
Data for the specific encounter (appointment) must be logged each time for the patient. This information is completed in the Meaningful Use module. All required fields are indicated by a red asterisk.
To enter data:
- Click the Meaningful Use icon to launch the module.
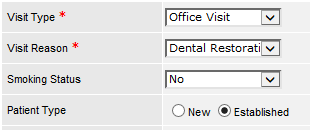
- Select Visit Type from the dropdown.
- Select Visit Reason from the dropdown.
- Select Smoking Status from the dropdown.
-
Select the radio button beside the appropriate Patient Type, if
required.
 Note: Smoking status entered in a previous encounter will carry forward and need only be changed if the smoking status changes.
 -
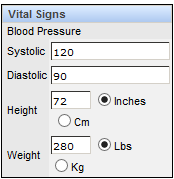
Enter the patient's vital signs.
-
Select the desired check boxes to indicate information given to the patient. This
information may be entered over the course of the appointment.
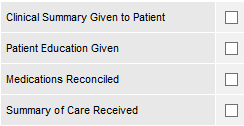
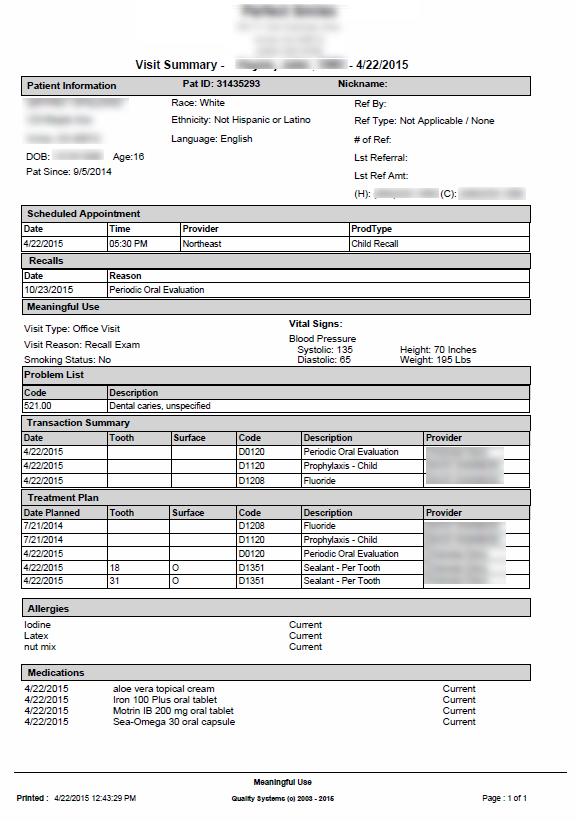
- Select the check box beside Clinical Summary Given to Patient if the patient summary was/will be printed from the Meaningful Use module and given to the patient.
- Select the check box beside Patient Education Given if patient education materials that were recommended by the software were displayed for or delivered to the patient. This might include flossing instructions or prescription warnings.
- Select the check box beside Medications Reconciled if the patient's medications and allergies are entered in the ePrescribing module.
- Select the check box beside Summary of Care Received if a summary of care was received from the patient or alternate provider and reconciled with the patient's QSIDental Web record.
- Select the No Known Problems check box or update the patient's Problem list if required.
- Click the Save button when complete. The information for the encounter may be edited over the course of the appointment until the end of the day sweep.
Add a Problem
Tracking problems is a key measure for Meaningful Use. Problems are based on ICD Codes as setup in QSIDental Web and are available for selection.
To add a problem in the Meaningful Use module:
- Click the Meaningful Use icon to launch the module.
- Click the Add button in the Problems section.
- Select the desired code from the Problem List.
- Click the Use button.
-
Repeat for as many codes as are needed to define the patient's problem.
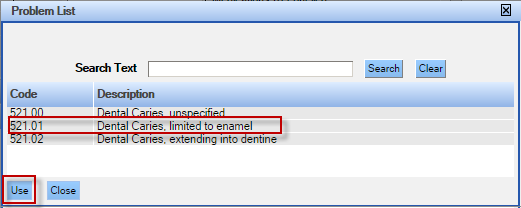
- Please note that problems will only appear here if they are established in QSIDental Web and set to be used as a problem for Meaningful Use. Refer to ICD Code Setup.
-
Click the
Close
button when complete.The information for the encounter may be edited over the course of the appointment until the end of the day sweep.
The problems will be listed in the Meaningful Use module with other data. Always click the Save button when complete.
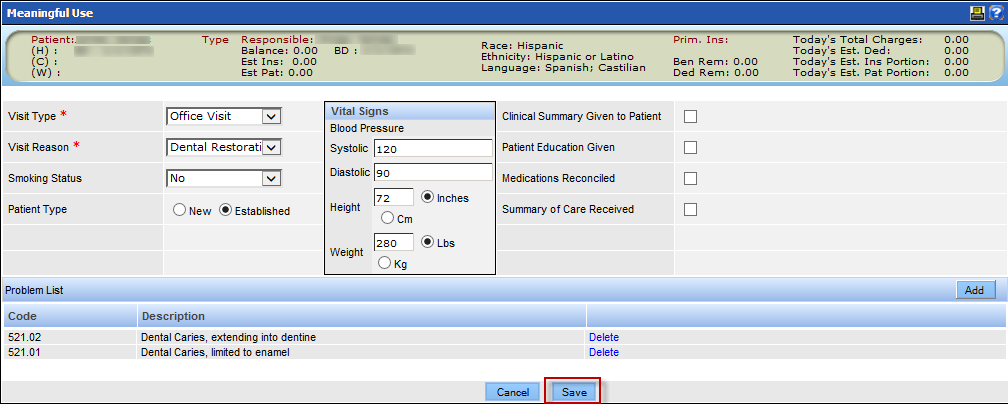
- To remove a problem, click the Delete link in that problem's row.
Provide a Clinical Summary