Printed Perio 2 Reports
Providers may provide patients with printed reports based on the periodontal findings. Some default options may be set in the Provider Preferences tab in the Provider Setup tool, but most can be changed within the Periodontal module for specific patients or reports.
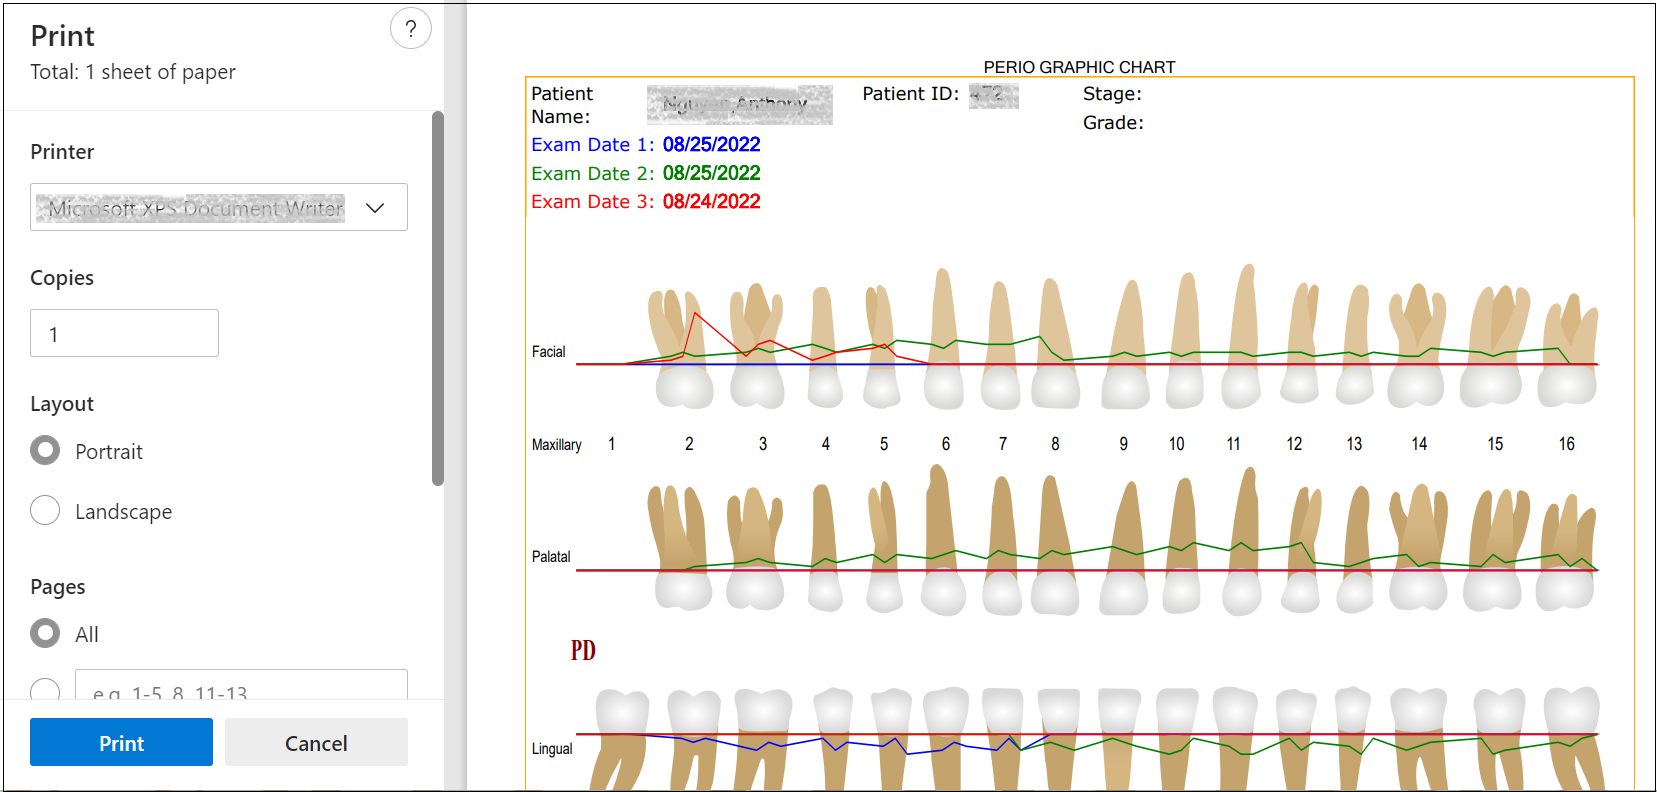
Each tab has a Print icon or button to print the specific details from the tab, though information is shared across tabs for a more complete picture. Once clicked, a preview of the printed document opens in a second browser tab or window with common printer options available.
The report for a single periodontal exam is the same whether printed from the Perio tab or the Perio Graph tab. It provides details about the selected measurements with colorful references.
Perio Tab and Perio Graph Tab
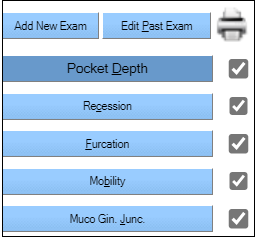
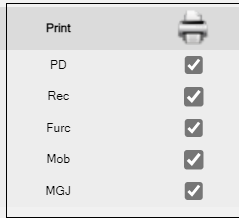
On the Perio tab, the printing tools are located on the right side of the window with the data entry tools. The printing preferences overlap with the measurement selection tools. On the Perio Graph tab, the check boxes are displayed in the lower right section of the window.
The report available for the Comparison tab closely mimics the tab itself. It shows the numerical values of the selected exams and the summary.
The report available for the Comparison Graph tab closely mimics the tab itself. It shows the graphed values of the selected exams in the colors chosen for the tab.
Print a Perio Report
You can print a perio report from the Perio tab or the Perio Graph tab.
- Select the measurements to display in the printed report by selecting or clearing the check boxes.
- Click the Printer icon (Perio tab) or Print button (Perio Graph tab).
- Review the printer default settings in the printer window.
-
Click Print to send the report to the selected printer.