Previous Topic

Next Topic

Book Contents

Filter the List View

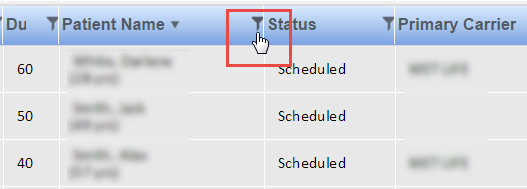
While viewing the list view of the Scheduler, you can filter the list by one or more of its columns.

To filter the list view of the Scheduler:

  1. Click the filter icon in the header of the column to which you want to apply a filter.

    list_view_filter_icon

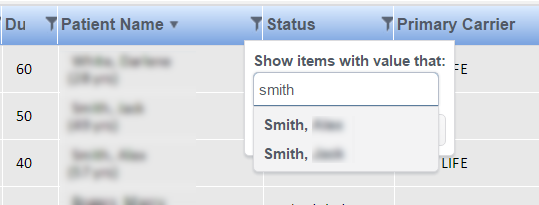
    A dropdown text box appears.

  2. Enter the text by which you wish to filter the column. As you enter text, the system displays items in the list that match the text.

    list_view_filter_text

  3. Select the correct item from the list, and then click Filter.

    list_view_filter_button

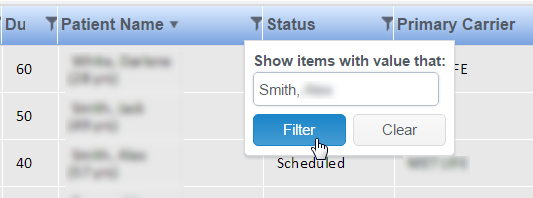
    The list is filtered according to the criteria you selected. The filter appears in the Filters area at the top of the list, and the filter icon is highlighted to indicate a filter was applied to that column.

    list_view_filtered

  4. Repeat steps 1- 3 to add additional filters.

    To remove a filter, click the x next to it in the Filters area. To remove all filters, click the Clear Filters button.

See Also

List View of the Scheduler

About the List View

Access the List View of the Scheduler

Actions Available in the List View

View Patient Information in List View

Edit an Appointment in List View

Manage Family Appointments in List View

Update Appointment Status in the List View

Add Appointment Notes in List View

Delete Appointments in List View

View Insurance Plan Details in List View

Edit Insurance in List View

Export the List View to Excel