Previous Topic

Next Topic

Book Contents

Email Health History Link

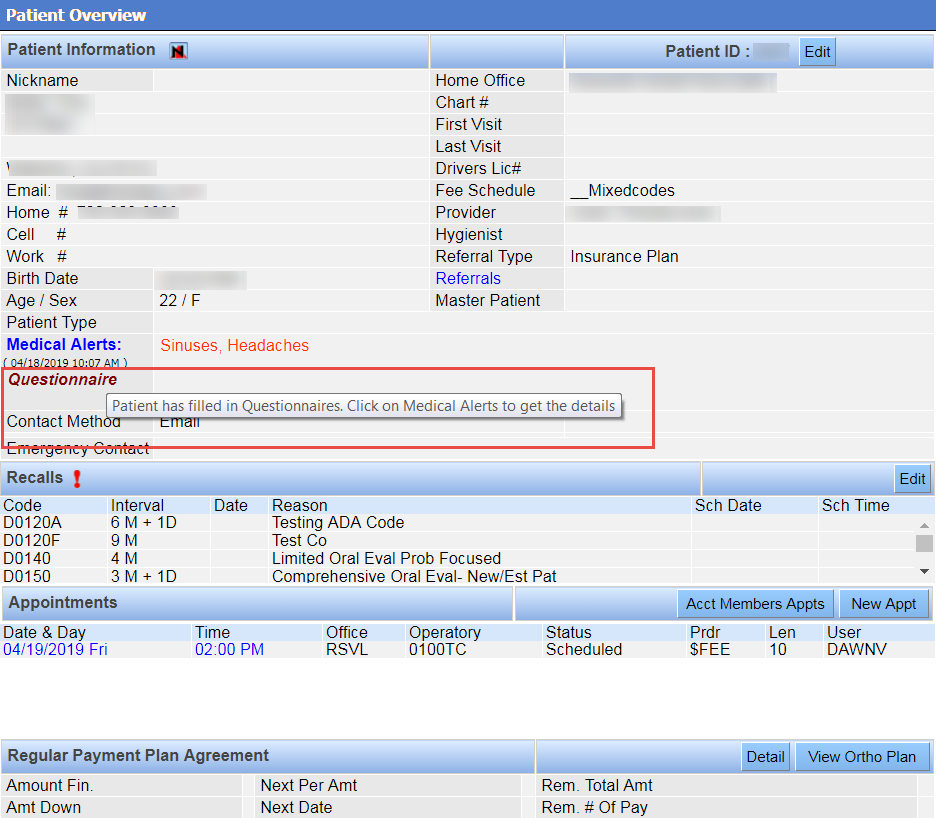
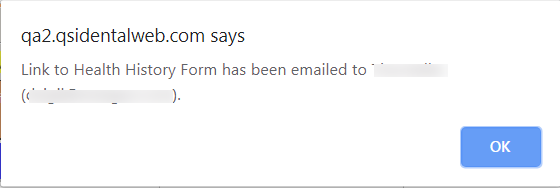
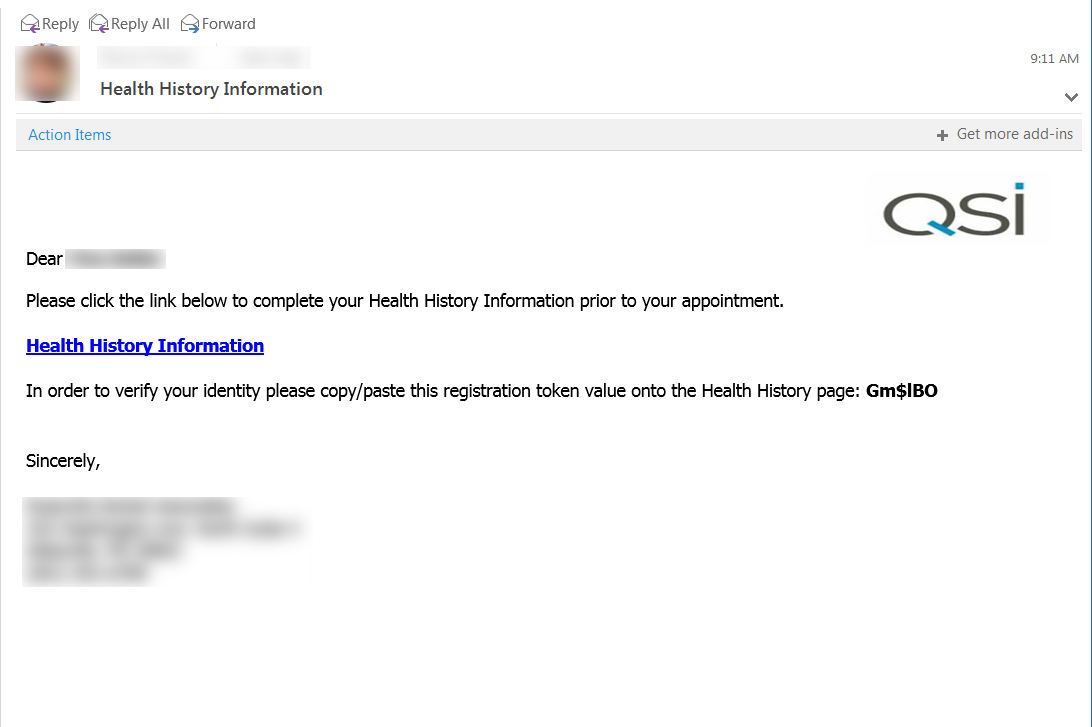
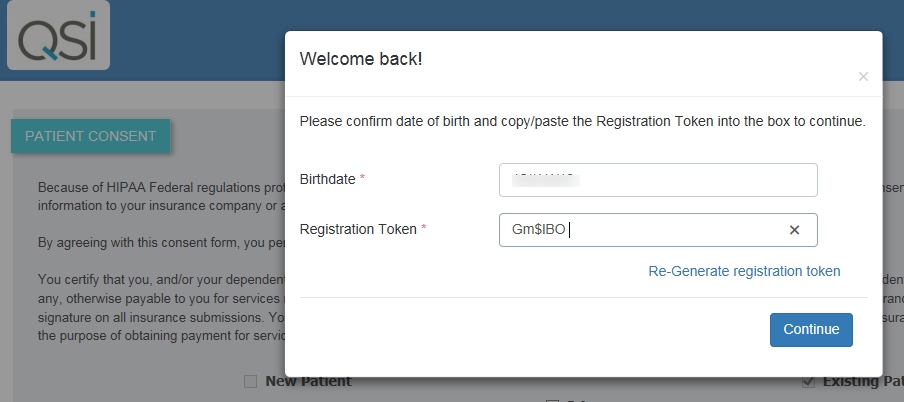
This feature enables you to email a new or existing patient a link to an online health history form that allows the patient to enter their own demographic information and medical alerts and complete the dental and medical questionnaires. The form also provides insurance information in a read-only view. To protect the patient’s personal health information, the email that contains the health history link also contains a token that the recipient must enter in their browser upon accessing the link.

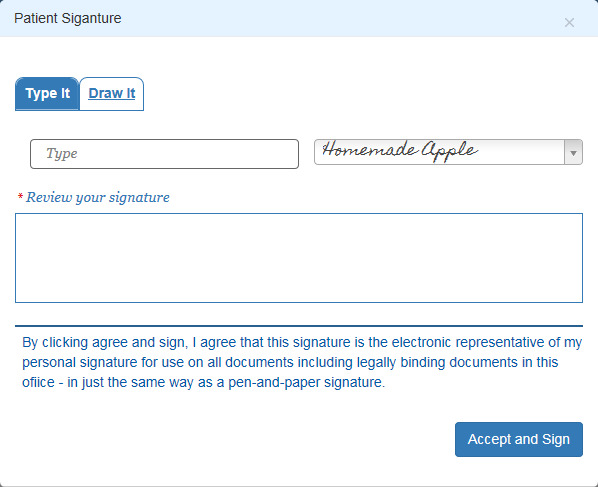
Once this form is completed by the patient, the system allows them to electronically sign it, either by typing or drawing. After the form is submitted, the QSIDental Web database is updated with the user’s information, including the signature, which appears in the medical history.

The Email Health History Link is available from the Scheduler and Patient menu.

New and existing patients also have the option to submit a request for a health history link through the practice website. Patients that are successfully validated by the system are automatically emailed the health history link.

  1. From the Scheduler page, right click on the patient's appointment.

    email health history link menu

  2. Select Email Heath History Link.

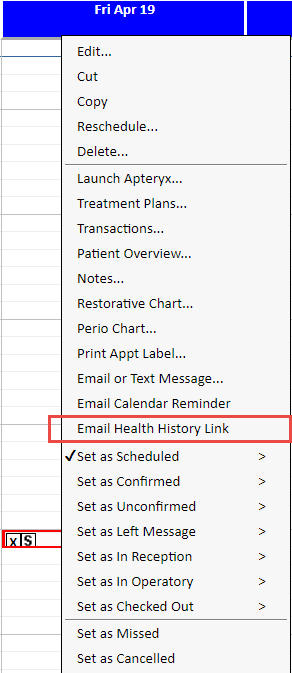
    If the patient does not have an email entered in their patient record, this link is not available.

    Note: A health history link is only sent to patients that are age 18 or older. If the patient is younger than 18 the link is sent to the responsible party if an email address is provided.

  3. A link and secure token ID is emailed to the email address on file and a confirmation message displays.

    email confirmation

  4. The patient clicks the hyperlink in the email and copies the registration token to paste into the secure form.

    Health history email message

  5. Clicking the email hyperlink takes the patient to the Patient Consent form. The patient selects New Patient or Existing Patient and I Agree check boxes and clicks Continue.
  6. The patient is required to verify their identity by providing their date of birth and the Registration Token from the email. They then click Continue.

    g_registeration token

  7. The online registration form opens and the patient reviews existing information and completes additional information as needed. The sections on this form include:
  8. Once all sections have been complete, the patient clicks Submit.
  9. The Patient Signature form opens and the patient either types or draws their signature and clicks Accept and Sign.

    patient signature

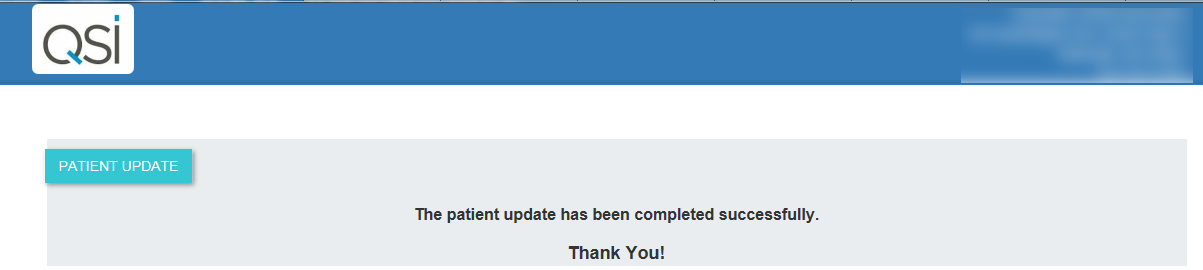
    A confirmation message displays indicating the patient form has been successfully updated.

    Patient Update confirmation message

  10. Once the patient has accepted and signed the form Questionnaire displays under Medical Alerts on the Patient Overview page. Hover your cursor over Questionnaire, and a message displays indicating the patient has filled in the questionnaires. Click on Medical Alerts to view the details.

    Questionnair verification

See Also

New Appointments

New Appointment Window

Schedule an Appointment for a New Patient

Schedule an Appointment for an Existing Patient

Schedule an Appointment for a Family Member of an Existing Patient

Appointment Options