![]()
![]()
![]()
|
|
|
|
The Scan EOB module lists the files that have already been scanned and offers the ability to locate a specific EOB or to add a new one. Though the patient banner appears at the top of the window, the Scan EOB functions independent of the currently selected patient. Since the list of EOBs will become extensive over time, the list can be narrowed by search or filters such as date. EOBs that have been indexed can also be located by patient.

The top section of the module is a search and filter function so that a specific EOB may be located once the list becomes extensive. An EOB can be located by patient if it has been indexed, or by file name, date, or description. Simply, type the desired criteria in the field to be searched and click the Search button.

The list of EOBs that have been scanned are displayed in the bottom section of the module.

EOB File ID: The file identification number automatically assigned by QSIDental Web. The number is based on the PGID (Client Account) Number, the date and an incrementing number.
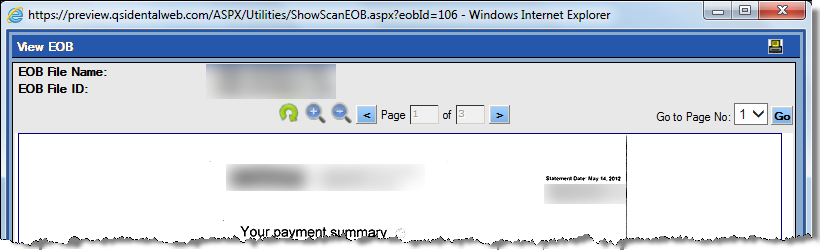
EOB File NAME: The file name as entered by the user when the EOB statements were scanned. Click the file name to view the scanned file. The file name can be up to 30 alpha numeric characters.
Description: The description as entered by the user when the EOB statements were scanned. The description can include up to 200 alphanumeric characters.
Scan Date: The date the EOB statements were scanned.
Amount: The total amount of the EOB statements.
Add/View Index: The link to the specific scanned file so that new pages may be added or the file may be indexed to specific patients.
Edit: Click the Edit link to change the file name, description, or amount for the specific scanned file. Once the changes are completed, click the Update link.

Delete: Delete the scanned EOB file. Do this cautiously as the files cannot be recovered.